Recipes
-
Basic Scone Recipe
I love a good biscuit…and what is a scone but a dressed up biscuit, am I right? I also love having a basic recipe that can accommodate all of the crazy combo ideas I have in my head while still coming out fluffy and delicious.
If any of you have ever been to the cafe and had one of our scones, this was the recipe I used. It’s ridiculously simple and a great blank canvas for you to get creative. Make them sweet or savory or try seasonal fruits and veggies. As I sit here, editing this post the ideas in my head for new scones are popping up. I hope you let your creativity free and make these delicious scones.
Enjoy!

basic scone recipe
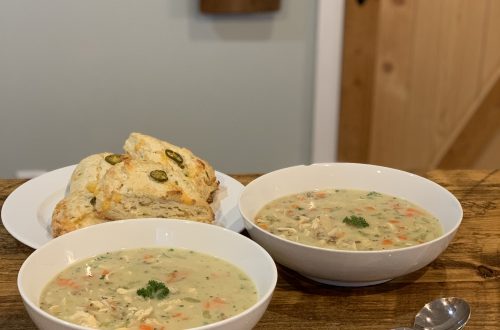
Here is my basic scone recipe, I use it to make all different kind of variations. Both savory and sweet. Its a great jumping off point.Servings 8 sconesEquipment
- hand grater
Ingredients
- 3 cup AP Flour
- 1/3 cup granulated sugar
- 2 1/2 tsp baking powder
- 1/2 tsp baking soda
- 1 tsp kosher salt
- 12 tbsp unsalted butter 1 1/2 sticks (very cold)
- 1 cup buttermilk
- 2 tbsp heavy cream
Variations Cheddar Jalapeno
- 1 cup grated cheddar cheese
- 1/4 cup chopped pickled jalapeno
Variation
- 1 cup cinnamon chips
Variation Cranberry orange
- 1 cup craisins
- 1 tbsp orange zest
- 1 cup powdered sugar
- 1 tbsp orange juice
Variation Raspberry Almond
- 1 tsp almond extract
- 1 cup fresh raspberries
- 1/3 cup sliced almonds
- 1 cup powdered sugar
- 1 – 1 1/2 tbsp milk
- 1/2 tsp vanilla
Instructions
- Preheat your oven to 425 degrees or 400 degrees convection. Line a sheet tray with parchement paper, or spray with non stick spray.Mix all of your dry ingredients together in a large bowl
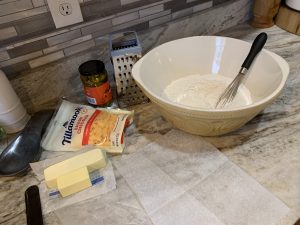
- Grate your cold butter and add it to your bowl
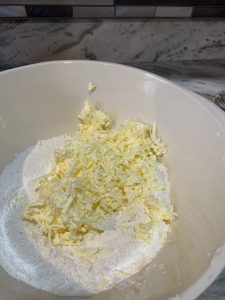
- Work the flour and butter together just until butter is small pea sized, then add your add ins ( in this case I added cheddar and jalapeno)
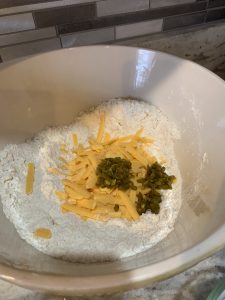
- Mix together with a fork, until evenly distributed. Make a well and add your buttermilk. Bring it together in the bowl with a fork until it starts to come together. If it looks too dry add a little more buttermilk a tablespoon at a time. ( I added 1 more tablespoon) then dump out onto your board (counter).
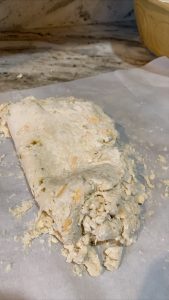
- I used parchement paper to fold over the ingredients. It keeps warm hands from melting the butter to much. Fold it over about 5 – 6 times and then shape into a cirlcle. Cut into 8 pieces. Place it on your lined sheet tray.
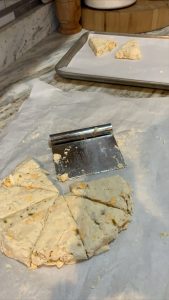
- Brush the tops with heavy cream and top with desired topping (I chose a jalapeno ring) (If I was doing a sweet scone I may top it with coarse sugar). A little bit of cheese would be nice as well.
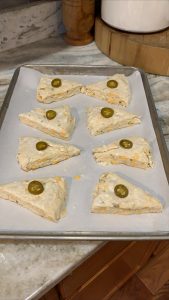
- Bake for 18-22 minutes, I check it after 15 and rotate the sheet pan.

Notes
For the Cranberry Orange : add orange zest and craisins to the dry mixture before adding the buttermilk. While the scones are baking make the orange glaze with the powdered sugar and orange juice. Drizzle onto the warm scones. For the Raspberry almond: mix your almond extract in with your buttermilk and make the scone without any add ins. Once you dump your mixture onto your board, add the raspberries, incorporating them as you fold them in. Shape and cut as normal and after you brush with heavy cream sprinkle on your sliced almonds to the top. While the scones are baking make your vanilla glaze. Drizzle onto the warm scones. For the cheddar jalapeno: I often add a 1/2 cup of chopped cooked bacon to this. If I do I reduce the cheddar to 3/4 of a cup.
 -
Versatile picadillo recipe
I have a bunch of “basic” recipes that I use a for number of things. Here’s one at its simplest that can be added to and changed to adapt to however you want to use it.
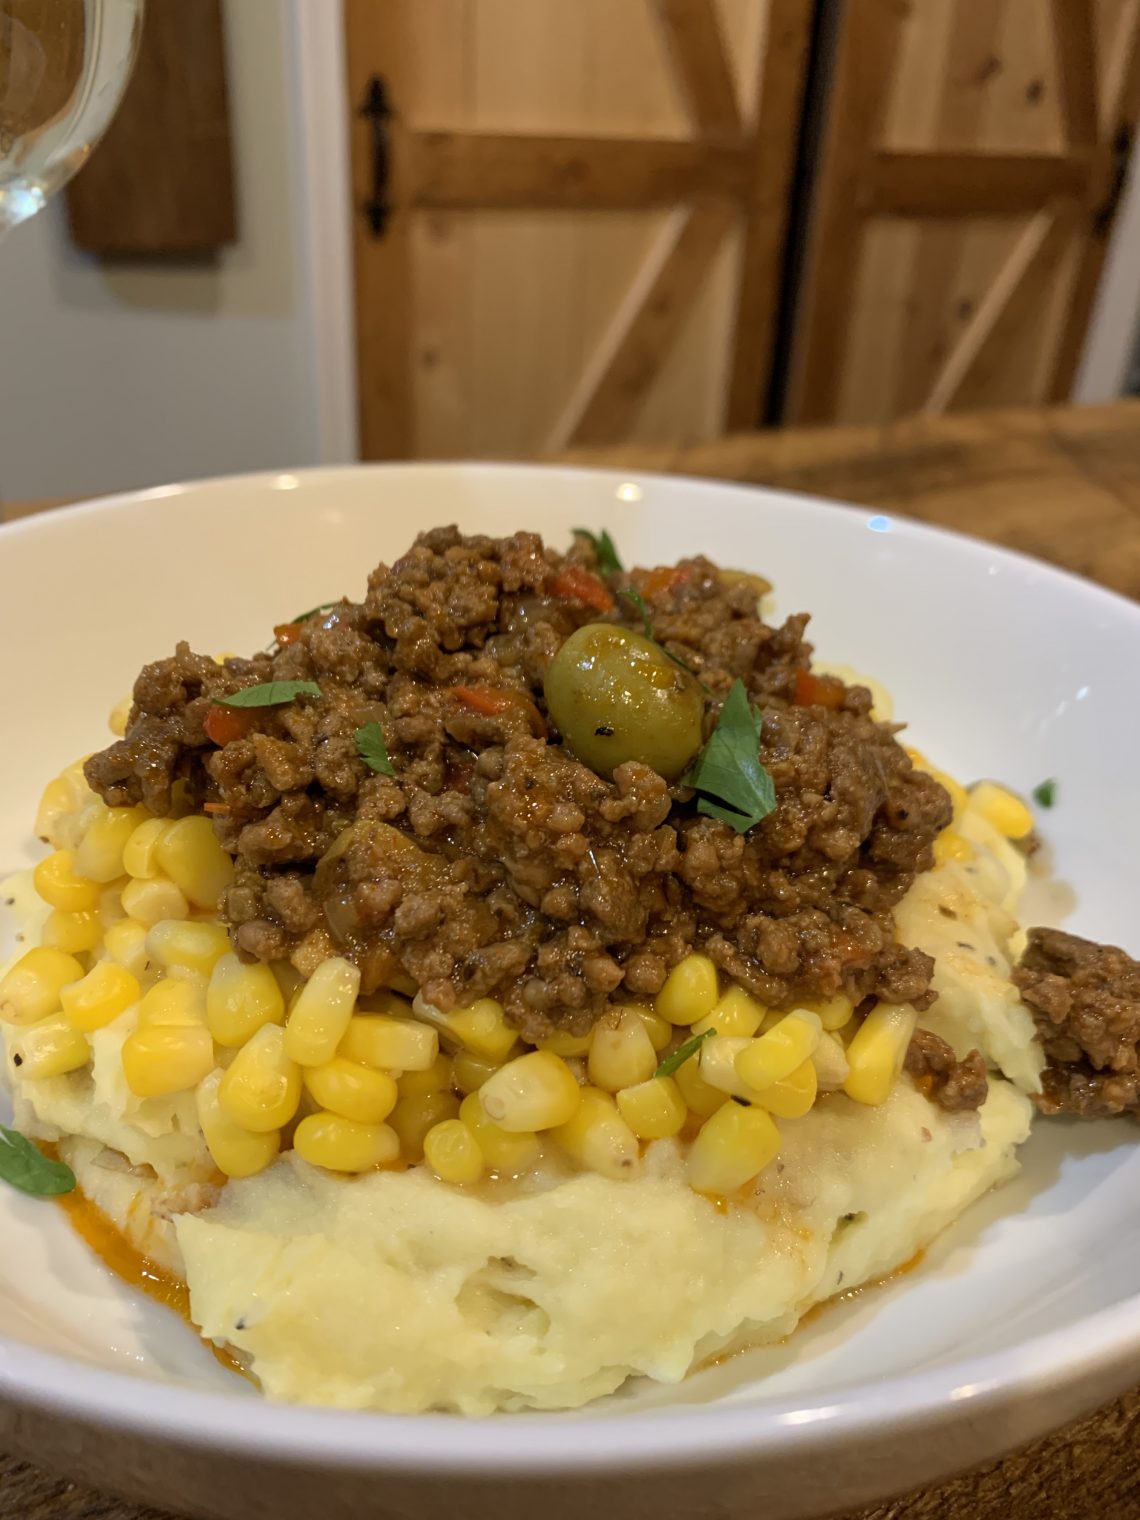
In my house we use Picadillo for filling empanadas and relleno de papa (potato balls), we top rice or garlic mashed potatoes with it. I’ve even made some seriously good grilled cheese sandwiches with it. OH YEAH, they were delicious!
When you have great basics, its just a jumping off point to amazing dishes that you can customize for your tastes and situations.
Now that you have your basic Picadillo recipe bump up the flavor by adding a few different ingredients like cinnamon and cumin, raisins and almonds… there’s warmth and sweetness and crunch then its the perfect filling for tamales. Or, change the beef to chicken or turkey and lighten up the dish. But I am getting ahead of myself. Today we keep it simple.
Enjoy!
Picadillo
basic puerto rican style picadilloEquipment
- Large saute pan
Ingredients
- 2 pounds ground beef
- 1/2 lg onion small dice
- 1/2 lg red bell pepper small dice
- 2 tbsp sofrito home made or store bought
- 2 packets sazon
- to taste salt and pepper
- 1/4 cup olives I use whole manzanilla olives, but sliced "salad olives" works well
- 8 oz tomato sauce I use 1 can of goya
- 1/4 cup water
- 2 tsp oregano
Instructions
- In a large saute pan over medium high heat brown your ground beef
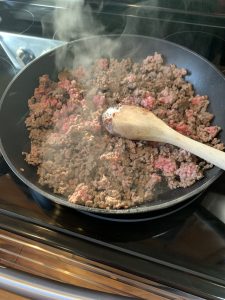
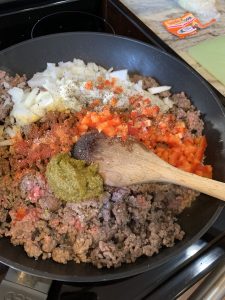
- Drain the rendered fat and add onions, peppers, sofrito, sazon, oregano, salt and pepper. Cook for about 5 minutes to soften peppers and onions
- Add tomato sauce, water and olives. Stir and cover. Simmer on low for about 20 minutes.
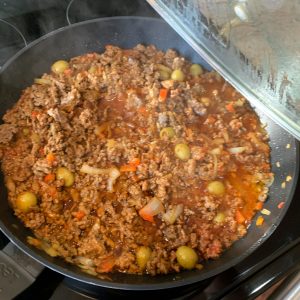
- Re-season if necessary and it is ready to eat. Use it to top garlic mashed potatoes with sweet corn.
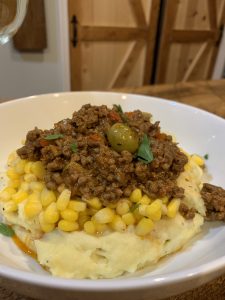
- Or place on a cookie sheet to cool down to use later
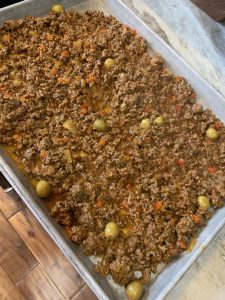
- I used it to fill baked empanadas

Empanada dough (baking)
Here is a quick empanad dough that I use for baking. Just grab your favorite filling.Servings 12 3 inchEquipment
- food processor
Ingredients
- 2 1/2 cup AP Flour
- 1 tsp salt
- 1 stick unsalted butter cold, cut into cubes
- 1 lg egg
- 1/4 cup ice water may need more, depending on flour used, humidity…I needed 1 extra tbsp today…
- 1 lg egg for brushing right before baking
Instructions
- in your food processor, add flour and salt and pulse to combine. Or you can mix in a large bowl.
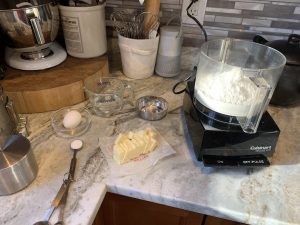
- Add cold butter and pulse until butter is about pea sized. Or you can use a pastry cutter or your hands to work in the butter.
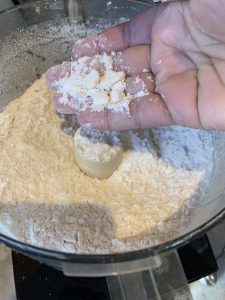
- add egg and 1/4 cup of ice water and pulse until it comes together when pressed. It till still look pretty corse and resemble wet sand. If it doesn't look like this after 1/4 cup of water, add 1 tbsp of water and pulse and try again.
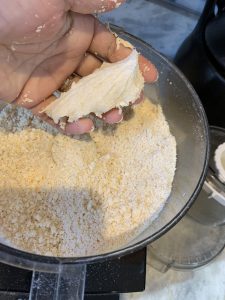
- pour out onto counter and form into a ball, wrap with plastic wrap and let it rest in the fridge for at least an hour before using.
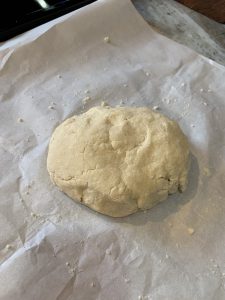
- Remove from fridge, roll out to about 1/8th of an inch
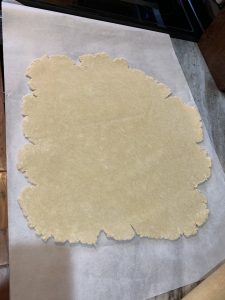
- Using a 3 inch round cookie cutter, or cup, or empanada mold cut out your rounds. Fill with your favorite filling
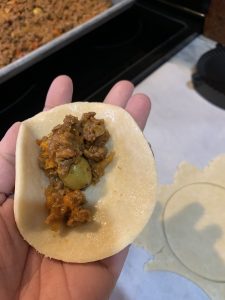
- Using a little bit of water around the inside edges press together and using your finger, a fork or your empanada press close them up tight. (As you can see I used a few different methods)
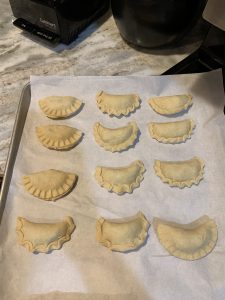
- Brush with eggwash and bake. 400 degrees for 15-18 minutes until golden brown.
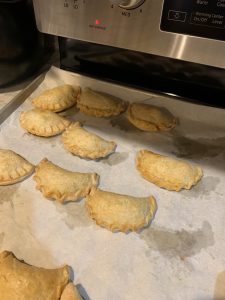
Notes
You can fill these with any filling. Try our Picadillo recipe, or if you have left over shred it and mix it with some bbq sauce, chopped jalapeños and cheddar. Ham and cheese works too. Pepperoni, mozzarella and marinara…yum. You’re only limited by your imagination. -
Banana Pudding
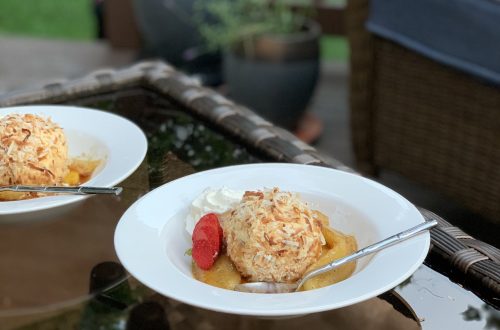
This past week my husband and I took a road trip to North Chicago to see our youngest son Jonathan graduate from bootcamp. It was a proud moment for us, and now we have 2 amazing sailors following in their dad’s footsteps…
I decided to come home and make his favorite dessert. I used to make this one for the cooler at the cafe and before I would even be able to get them into the cooler Jonathan would be right behind me pulling one out, because he knew that there wouldn’t be one left for him at the end of the day. Wow I miss those days! (sniff, sniff)
I know this is not your classic banana pudding recipe. This is one that I adapted to make it fit the way we eat. I have a problem with desserts that are too sweet and mask the flavors that you worked so hard to put into them. I want to be able to enjoy the taste of the banana and the vanilla of the custard. The hint of cinnamon in my cookie crumbs…and yes, I know cookie crumbs aren’t classic in banana pudding, but I find that texturally it works.
I hope you give this a try and hopefully it puts a smile on your face.
Enjoy!
Banana pudding
Home made and a little more grown up, banana pudding. I don't like my deserts to be sooo sweet that you cannot taste the love you put into it.Servings 12Equipment
- heavy bottom pot
- whisk
- sieve
- metal bowl
- ice bath
- stand or hand mixer is helpful
- food processor is helpful
Ingredients
vanilla custard
- 4 lg eggs
- 3/4 cup granulated sugar
- 3 tbsp corn starch
- 1/2 tsp salt
- 1 qt half and half
- 1 tbsp vanilla extract
- 2 tbsp unsalted butter
- 1 cup whipping cream
- 1/4 cup powdered sugar
- 1 tsp vanilla
cookie crumbles
- 1 box vanilla wafers keep a few aside for garnish
- 1/4 cup sugar
- 1/4 tsp ground cinnamon
- 1 pinch salt
- 6 tbsp unsalted butter melted
The banana part of it…
- 4 med bananas make sure they are ripe and super sweet
- 1 cup whipping cream
- 1/4 cup powdered sugar
- 1 tsp vanilla
Instructions
Vanilla custard
- Gather your ingredients, along with a heavy bottom pot, and a whisk
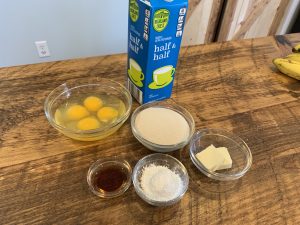
- Place eggs, sugar, corn starch and salt into your pot and whisk together.
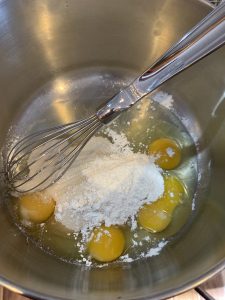
- Add your half and half and place on the stove over medium heat and whisk.
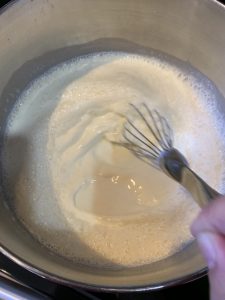
- You will keep whisking and stirring to make sure the custard heats evenly, you will begin to see a bunch of bubbles as it starts to heat through.
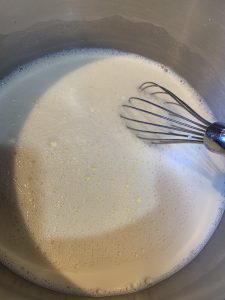
- It should take about 15 minutes, the custard will begin to thicken and I remove it as soon as I see the first boil bubble. Take off the heat and add your vanilla and butter and whisk.
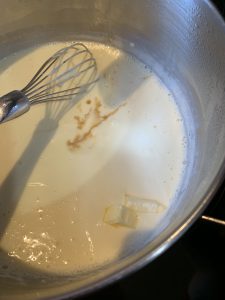
- Pour through a sieve, to make sure there are not curdled bits of egg. Making sure not to push through. ( I tap the edges to get as much through with out worrying about getting any scrambled eggy pieces in my custard)
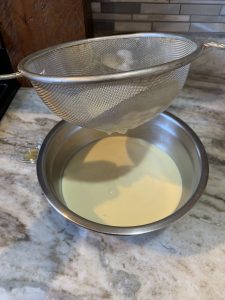
- Cool over an ice bath, preferably in a metal bowl stirring occasionally for about 20 minutes before covering with plastic wrap, placing the plastic wrap directly on the surface of the custard. Place in your fridge and completely cool for at least 4 hours.
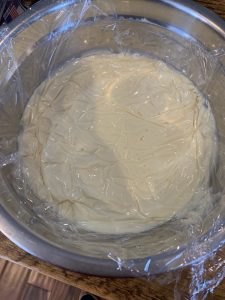
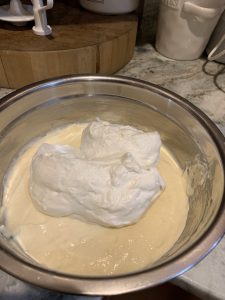
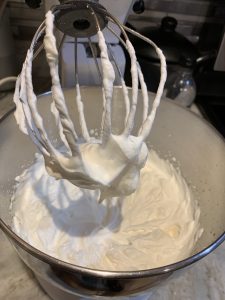
- After it cools and sets in the fridge, whip your cream. Add your whipping cream to your mixing bowl along with your powdered sugar and vanilla and whip until medium to stiff peaks. Fold into your custard.
Cookie crumbles
- Place your vanilla wafers (minus what you are using for garnish) into your food processor (or you can place into a ziplock bag and crush with your rolling pin) add your sugar, salt and cinnamon. Crush until crumbs.Add melted butter and mix until it looks like wet sand
The banana part of it
- Add your whipping cream to your mixing bowl along with your powdered sugar and vanilla and whip until medium to stiff peaks.
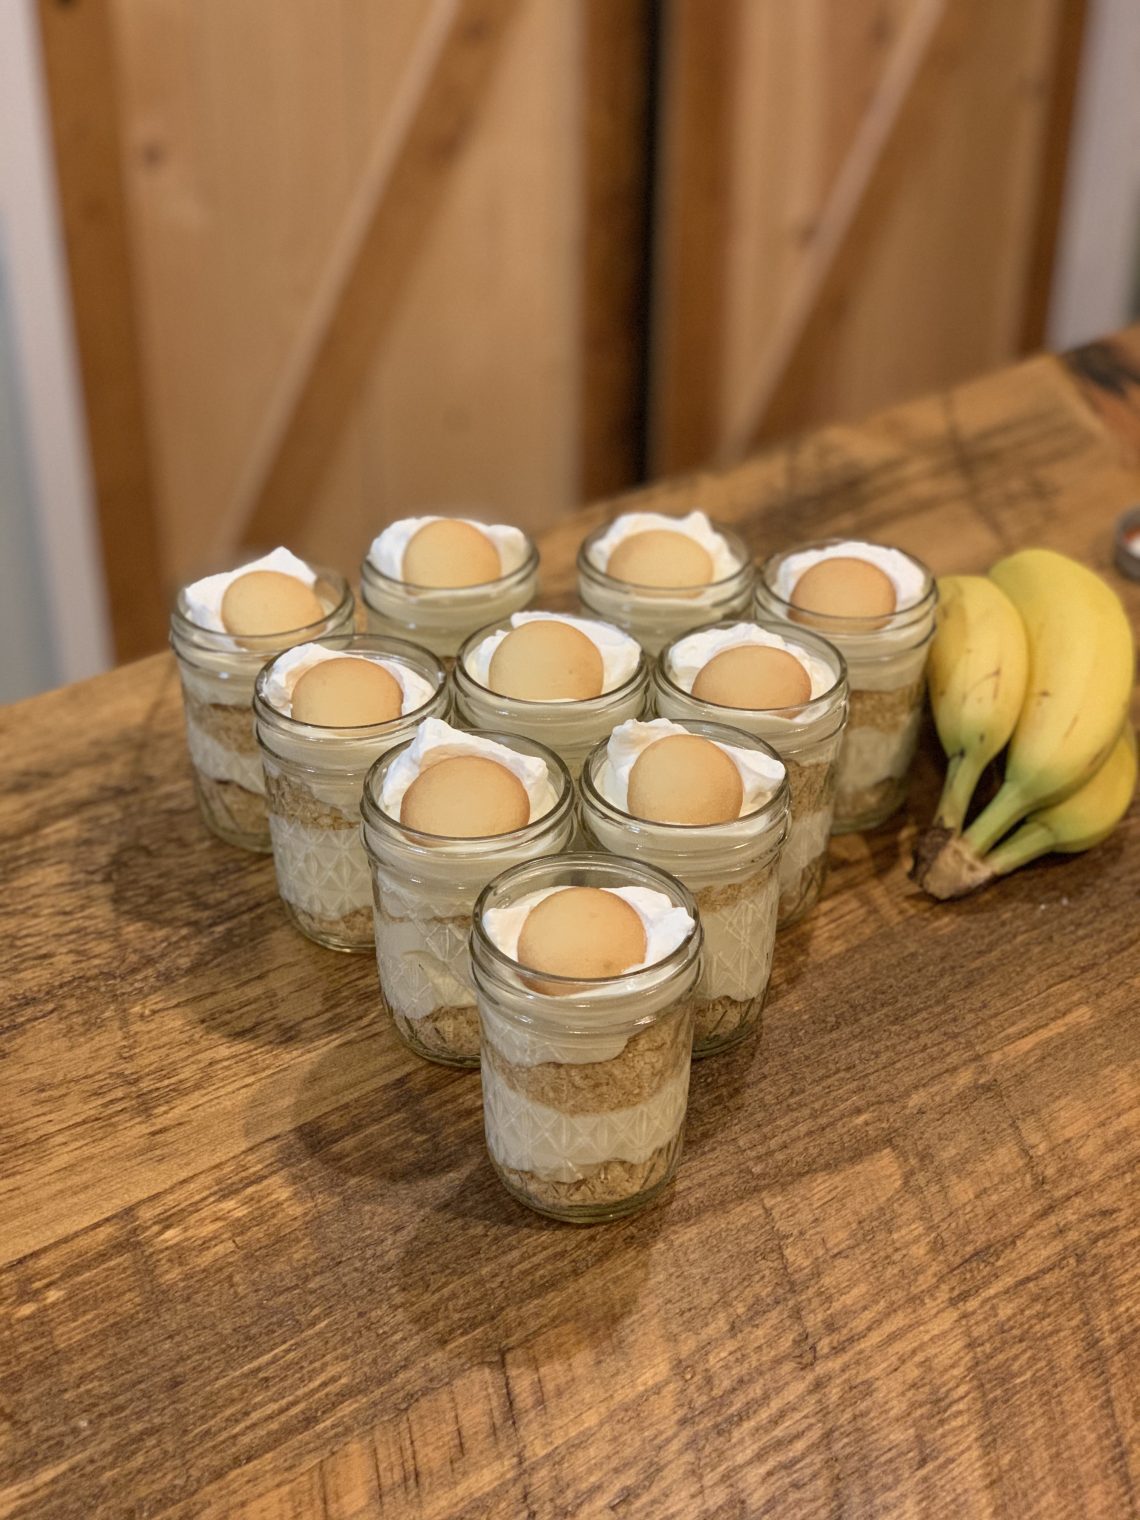
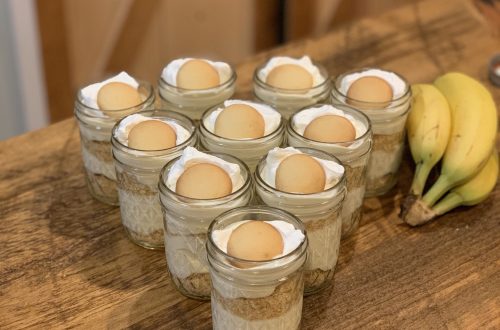
- slice up your bananas and start to build your banana pudding. Place a heaping tablespoon of crumbs onto the bottom of your chosen cup add a few slices of banana, add about a 1/4 cup of custard and repeat. Top with whipped cream and a vanilla wafer.
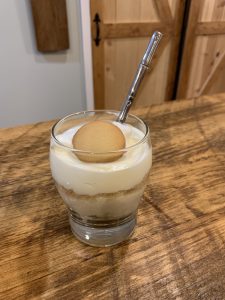
Notes
This is my go to vanilla custard. I use this recipe for the base of a bunch of other desserts. Cream puffs, napoleons, fruit tarts…. -
Braised beef and veggie quesadillas
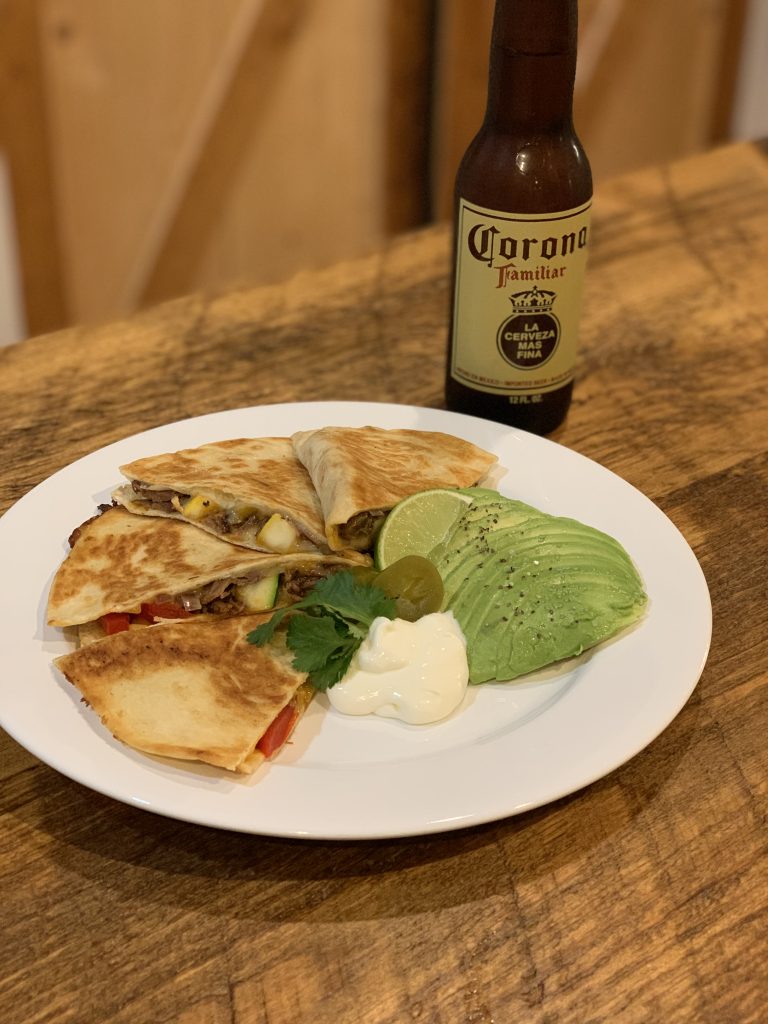
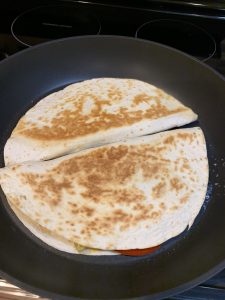
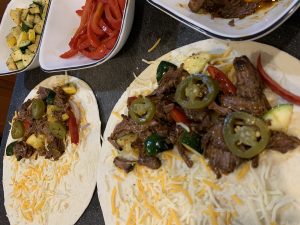
Quesadillas can usually be thrown together quick and simple. In the hotter months I’m always down for a grilled meat and veggie quesadilla and I have made so many versions of this crispy cheesy meal I couldn’t even list them all! But if you really want to up your quesadilla game, and turn this simple dish into a meal you can serve on a cold winters day, then take the time and slow braise your beef. It brings a richness that you just can’t beat.
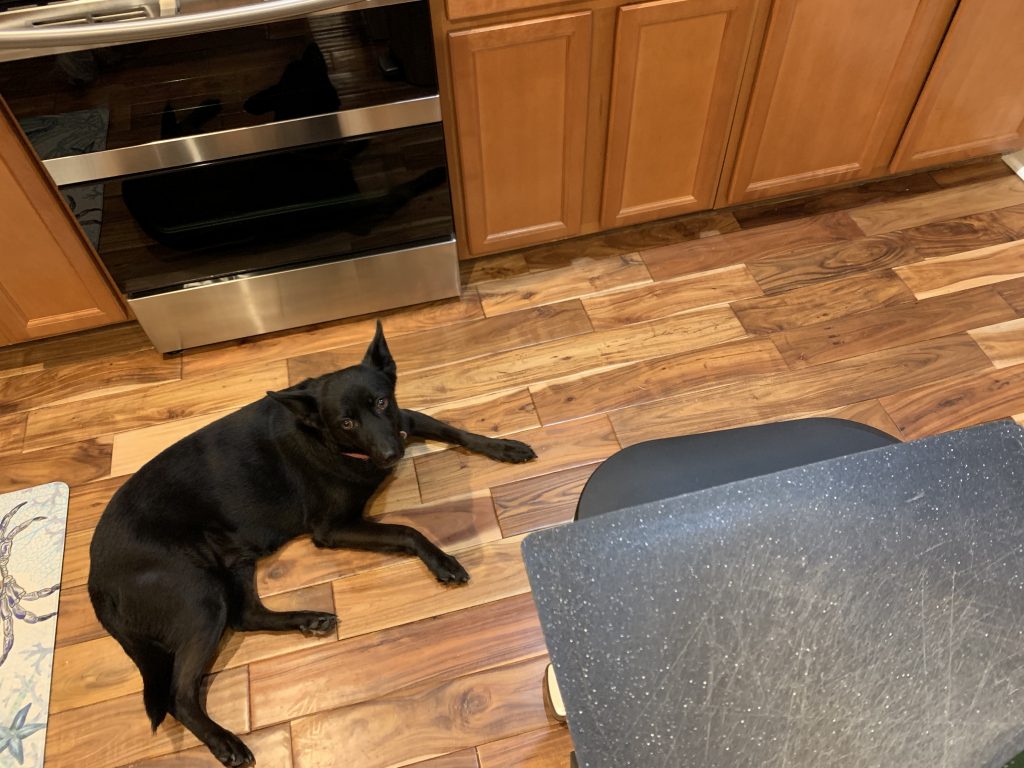
Even my Harley bear was waiting by the oven in the hopes for a taste!

Braised beef and veggie quesadilla
Slow braised beef, mixed with fresh veggiesServings 10 quesadillasEquipment
- dutch oven
Ingredients
Braised beef roast
- 4-5 pound chuck roast
- 1 tbsp canola oil
- 1 med white onion thick slice
- 1 1/2 tsp cumin
- 1 1/2 tsp oregano
- 1 1/2 tsp chili powder
- 4 ounces tomato sauce
- 1 cup beef stock
- 1 tbsp * sofrito home made or store bought
- salt and pepper to taste
Quesadilla
- 10 10" flour tortillas
- 4 cups shredded mexican cheese blen
- 1 sm yellow squash diced
- 1 sm zucchini diced
- 1 med red bell pepper sliced
- 1 med red onion sliced
- 1 tbsp olive oil
- salt pepper to taste
- 4 tbsp butter
Optional ingredients
- pickled jalapeños
- mexican crema
- avocado
- salsa
Instructions
Braised beef
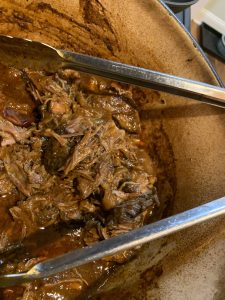
- Pre-heat oven to 350 degreese.In a dutch oven or a heavy oven proof pot, heat canola oil on medium high heat. Season beef with salt and pepper and sear 3-4 minutes per side. Remove roast from pot, reduce heat to medium and add sliced white onion, cumin, oregano, chili powder and cook 4-5 minutes. Add tomato sauce and sofrito and stir. Put the beef back into the pot and add beef stock and bay leaves and bring to a boil.Cover and place into preheated oven for 2 1/2 hours. Then reduce to 300 degrees and continue cooking for another 1/2 hour 45 minutes.Remove from oven and set aside while you get the quesadilla ingredients ready.
Quesadilla
- Heat olive oil over medium heat, saute veggies adding salt and pepper to taste. Do not overcook, leaving some crunch to the veggies. Set asideBegin to assemble Lay your tortilla flat, sprinkle with cheese, add shredded beef, veggies, pickled jalapenos (optional)Fold in halfMelt butter onto a large non stick pan or griddle over medium heat and cook quesadillas until golden brown on both sides and cheese is melted.Remove from heat and cut into quarters, garnish with your favorites!
Notes
